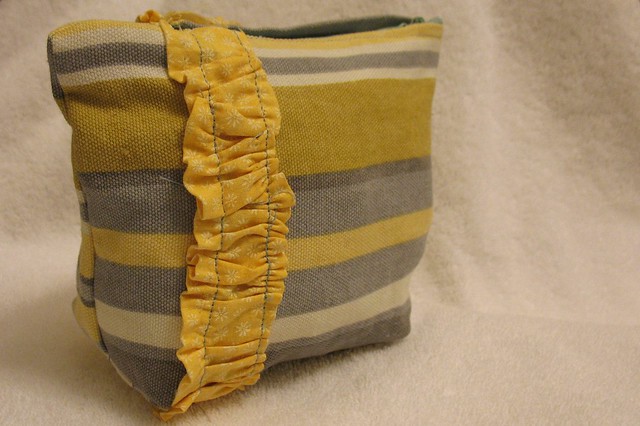
After coming up completely blank on last week's craft for the movie theme, this week I was excited to see the challenge theme. Use no more fabric than a fat quarter. Challenge accepted! I love fat quarters. I also love The Pleated Poppy's bags, and have been in need of a new makeup bag for the stuff I use everyday (or would use everyday if I remembered). This is the result, and is sort of thrown together-ish, using this tutorial as a guide.
Showing posts with label the iron craft. Show all posts
Tuesday, March 8, 2011
Thursday, February 24, 2011
Iron Craft: Hometown
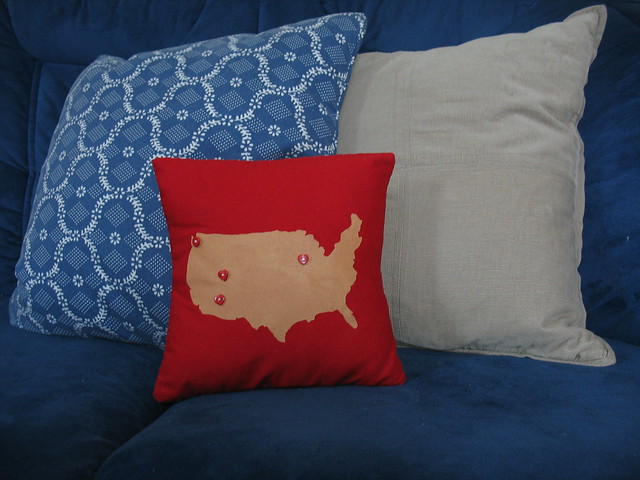
I'm always a little late on the Iron Craft challenges - sometimes inspiration just takes a little longer to come, and finding or making the time to accomplish them can be as challenging. This week's challenge was a something hometown inspired. My family has lived a lot of places, and we have family across the country This map pillow is freezer-paper stencilled, and each heart is in a state where we have siblings and grandparents living- all locations are approximate and probably not at all accurate, but I'm really pleased with how it turned out!
Oh, and I was profiled over there this week, too!Tuesday, February 8, 2011
Tutorial: Glowing Snowglobe
This pretty thing is a joint project between WBH and myself. It's an entry for Iron Craft's Winter competition, and I'm really psyched about it!
This is my second tutorial here on the blog, and it's long. The process of making this, though, doesn't take long. You're going to love it, promise.
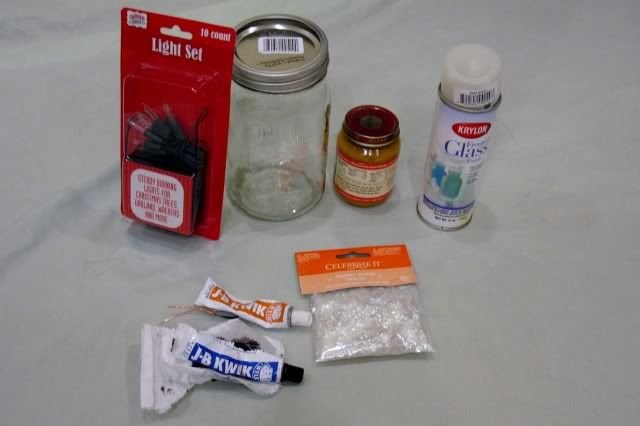

You'll need:
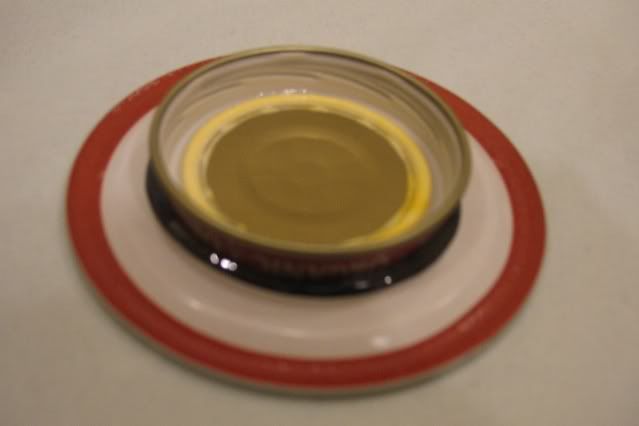
a wide-mouthed quart mason jar and lid
tall baby food jar
battery-operated twinkle lights OR flameless tea light
JB Weld J-B Kwik adhesive
iridescent confetti
glass frosting spray or glass etching medium (optional)
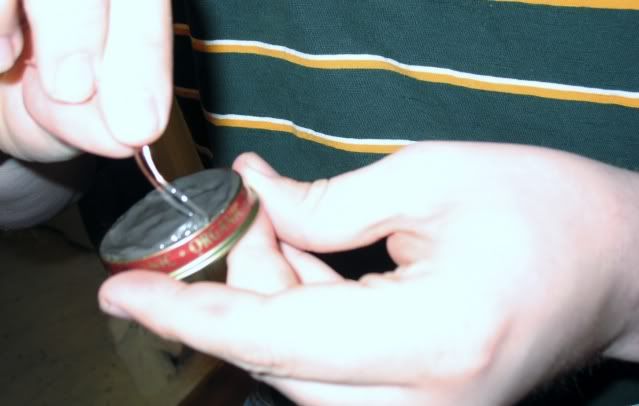
If desired, tape the threads of the baby food jar (it's important for getting a proper seal) and frost with spray, or etching medium. Etching will take longer, and should be done beforehand, refer to the etching medium's directions. Or don't, that's fine, too.
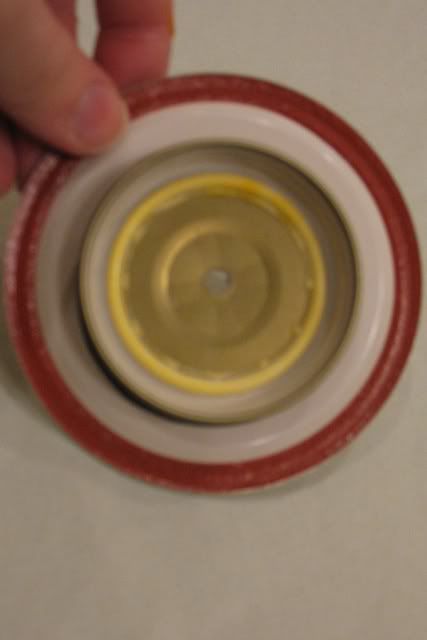
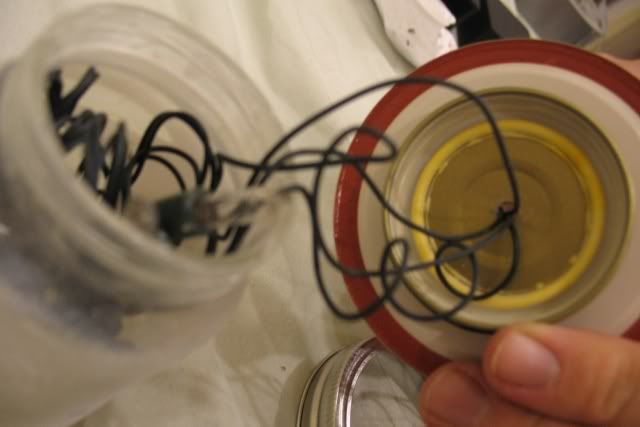
Disconnect light wires from battery posts. Add lights to small jar and thread wires through hole. Reconnect wires to battery posts.
Add water to large jar, leaving 2 inches for water displacement. Add 2-3 tablespoons of confetti.
Screw lids on both jars- small, then large. Then flip it over and switch on the lights!
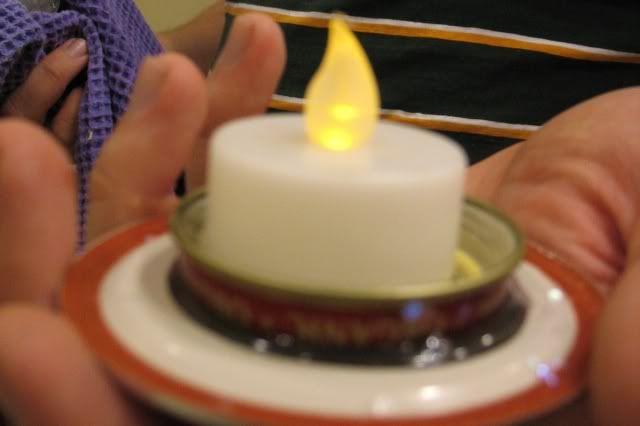
Alternately, a flameless tealight works, it's just a different color light - kind of fire-and-icey.
Things to know:
- Some of the confetti floats, some sinks. Some gets all over your house. Believe it.
- Taping over the threads is really important. I learned this the hard way.
- Dollar store battery operated lights are cheap pieces of crap.
- Some glass frosting spray paint will come off in the water, but it looks cool that way, too. Etching will be better for a permanent frost, or try spraying the inside.
- WBH rocks the party that rocks the party for a partner in craft (and everything else).
I think these would be beautiful at Christmas, New Year's Eve or as centerpieces.
Hope you enjoyed and found this useful- let us know if you try it out!

Monday, January 24, 2011
I Made it Monday: Superman Coffee Cozy
Stinky sees me making things a lot. Sometimes he'll get in on the act. Say the word "project" in front of him and see how he lights up. He's also reached the peak of new-sibling insecurity. Well, I hope it's the peak. Anyway, he saw me making the birthday bows last week and asked "When will you make something for me?"
Yeah, pardon me while I pull the knife from my back. I promised him the next thing I made would be for him, and he was satisfied. Then I checked out Iron Craft's Week 4 Challenge. Coffee Cozies? In a coffee-free household, for a four year-old, nonetheless. Awesome. Still, I did promise.
Meet Clark Kent's Coffee Cozy:
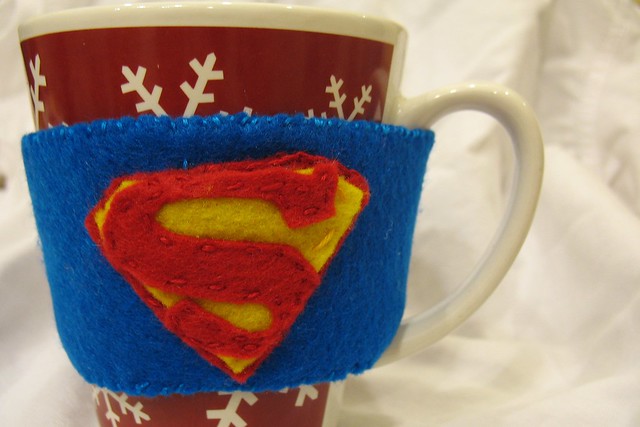
It's made from felt and embroidery floss, with a pattern for the emblem made from a Superman sticker. I used this template from LittleRedSaid. As he excitedly watched me stitching it, I refused to tell him what it was, only that it was for him. He'll just have to see when he wakes this morning and gets hot chocolate with his breakfast.
Yeah, pardon me while I pull the knife from my back. I promised him the next thing I made would be for him, and he was satisfied. Then I checked out Iron Craft's Week 4 Challenge. Coffee Cozies? In a coffee-free household, for a four year-old, nonetheless. Awesome. Still, I did promise.
Meet Clark Kent's Coffee Cozy:
It's made from felt and embroidery floss, with a pattern for the emblem made from a Superman sticker. I used this template from LittleRedSaid. As he excitedly watched me stitching it, I refused to tell him what it was, only that it was for him. He'll just have to see when he wakes this morning and gets hot chocolate with his breakfast.
I'll admit, making this for him made me feel a little super. Up, up, and away!
Wednesday, January 19, 2011
Iron Craft: Bunting Thank You Notes
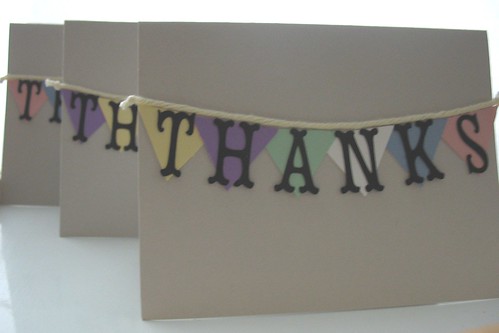
Have you heard about The Iron Craft blog? It's pretty awesome. Each week all year, they're presenting a craft challenge, and every Wednesday, we upload what we've done. I missed the first two, so I'm jumping in at number three, "Just Bunt." The challenge was to create a bunting of some kind. I needed some thank you cards this week, so I whipped these up with my cricut. If you're crafty, or aspire to be, you should definitely look into their challenges. It's really inspired me!
As an aside, I'm proud and in awe of Stinky, who saw these and said "T-h-a-n-k-s. What does it spell?" Go Stinky!
Subscribe to:
Posts (Atom)